The surprising truth: a modern iPhone takes better aurora photos than a full-frame DSLR in most hands. The reason is Night Mode, which does automatic long-exposure stacking that would otherwise require technique. If you have an iPhone 12 or newer, you can produce great aurora shots tonight. If you have a DSLR but no tripod, your phone wins.
The three mistakes that ruin 90% of aurora shots
- No tripod / no support. Any exposure longer than 1/30 second needs stabilisation. Aurora exposures are 4-15 seconds. You cannot hand-hold.
- Autofocus. Autofocus hunts in the dark and rarely lands on infinity. Always switch to manual focus and set it to infinity (or use a distant streetlight to lock focus, then switch to manual).
- Flash on. Flash illuminates 3 metres of air. It does not reach a 100-km-high aurora. Turn flash off always.
iPhone (iPhone 12 Pro and newer)
- Mount iPhone on a small tripod. Any 15 EUR tripod with a phone mount works.
- Open Camera app. It should automatically enter Night Mode in dark conditions (yellow moon icon appears top-left).
- Tap the moon icon.
- Drag the slider to maximum exposure (10s on iPhone 11/12, up to 30s on iPhone 14 Pro and 15 Pro with tripod detection).
- Frame the shot with foreground (a tree, car, person) in the lower third.
- Tap shutter. Hold still until the countdown ends — even 1 second of movement blurs.
Pro tip: ProRAW captures more data and lets you recover detail in Lightroom Mobile afterwards. Settings → Camera → Formats → ProRAW + Resolution Control → ON.
Android (Pixel 6+ / Samsung Galaxy S21+)
- Mount phone on tripod.
- Open camera. Swipe to Night mode (Pixel) or Astro / Night mode (Samsung).
- Set exposure to maximum. Pixel 6 Pro allows 4 minutes in Astrophotography mode.
- For Astro mode: frame, tap shutter, then DO NOT TOUCH phone for the full exposure.
DSLR / Mirrorless (Canon R7, Sony A7, Nikon Z6, etc.)
| Setting | Start with | Range |
|---|---|---|
| Mode | Manual (M) | — |
| ISO | 3200 | 1600-6400 |
| Aperture | f/2.8 | widest available (f/1.4 to f/4) |
| Shutter | 10 seconds | 4s (fast dancing aurora) to 25s (slow glow) |
| Focus | Manual → infinity mark | — |
| White balance | 3500K (or auto RAW) | — |
| Format | RAW (or RAW+JPEG) | — |
| Image stabilisation | OFF (on tripod) | — |
Shutter speed rule: slow, glowing aurora = longer exposure (15-25s). Fast dancing aurora = shorter exposure (4-8s) so movement stays crisp rather than smearing.
Lens choice (DSLR)
- Best: 14-24mm f/2.8 or similar ultrawide zoom. Captures big sky + foreground.
- Good: 24mm f/1.4 prime. Fast aperture compensates for narrower field of view.
- Acceptable: any kit lens at its widest (18mm, 24mm) and widest aperture (usually f/3.5).
- Bad: telephoto lenses (70mm+). Aurora covers half the sky; you can't frame it with a zoom.
Composition tips
- Foreground saves the shot. A straight-sky aurora photo looks generic. Put a tree, mountain ridge, frozen lake, or campfire in the bottom 1/3 of the frame.
- Rule of thirds for horizon. Horizon at 1/3 from bottom if sky is the subject. Horizon at 2/3 if landscape is the subject.
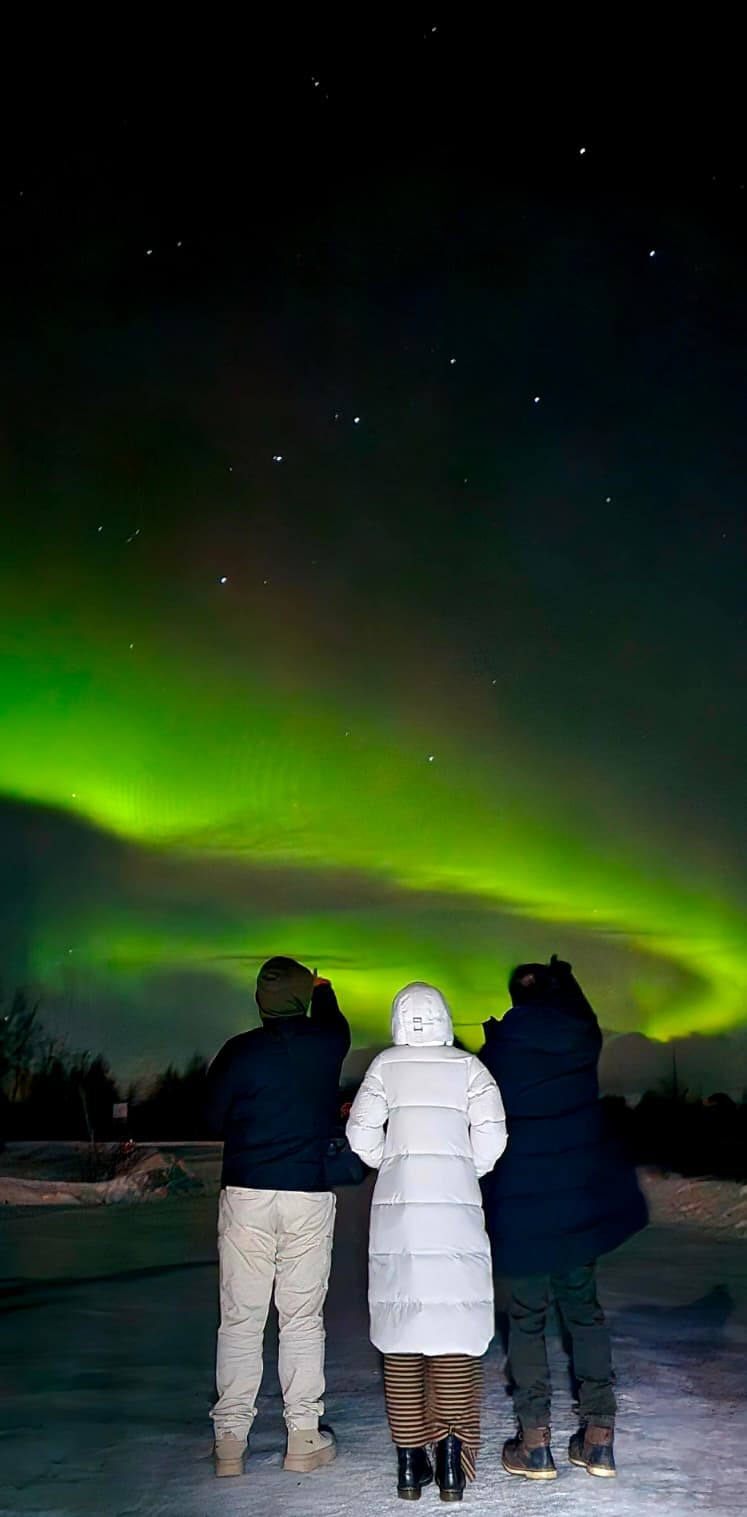
- Include a person. A silhouetted figure against aurora is iconic. They need to stand completely still for the full exposure.
Cold weather camera care
- Lithium batteries drop to 20% capacity at −25°C. Carry 2-3 spares inside your jacket pocket against your body.
- Condensation kills cameras. When you come back into a warm building, put camera in a sealed Ziploc bag BEFORE entering. Open it only once camera has warmed up (30-60 minutes).
- Avoid breathing on lens. Your breath freezes instantly on cold glass and stays there for the rest of the night.
- Hand warmers taped to battery compartment extend battery life significantly.
Editing (Lightroom Mobile or desktop)
Start with RAW. Adjust:
- Exposure: +0.3 to +1.0 if underexposed
- Highlights: −40 to pull back the brightest aurora areas
- Shadows: +40 to recover foreground detail
- White balance: 3400-3800K for natural look (cooler than what your eyes saw)
- Vibrance: +15 to bring out the green
- Noise reduction: +30 if you shot at ISO 3200+
One last thing
Your phone camera sees more aurora than your eyes do. A faint KP 1-2 display that barely registers to the eye can look vibrant in a 10-second exposure. Don't get discouraged if aurora looks less dramatic in person than Instagram suggests — photograph it anyway. The camera captures a truth your eyes can't.
And pack a spare phone battery — cold drains phones fast. Check the live Kiruna forecast the day of your tour to match expectations with conditions.
Aurora tour with basic phone photo help → If the lights appear, our guide helps with basic phone settings when possible — photos may be shared after the tour.